 Knife Sharpening
Japanese chefs consider sharpening as a crucial first step in preparing fine cuisine and many sushi chefs sharpen their knives at the end of each work day. Edge life versus ease of sharpening - it is up to you to balance these considerations when selecting a knife. You should ultimately choose a knife that meets your needs, but if you are inexperienced with Japanese knives and water stones, we recommend you choose a knife that is easier for you to sharpen. As you train your knife against the stone, you begin to personalize the edge to your specific needs and sharpening style. With practice and good technique, your knife should become sharper than it was in its original condition.
When Should I Sharpen?
Ideally, you should sharpen the knife right out of the box. This will produce the strongest edge and is especially necessary for traditional Japanese knives. Korin offers a complimentary initial sharpening service to ensure exceptional sharpness. We also recommend that customers sharpen their knives before they become too dull as sharpening a very dull knife will require much more time. You should be prepared to sharpen Western style knives every two to three days for average professional use.
The simple paper test is a good trick to test the condition of your blade. If you can slice a sheet of paper effortlessly with your knife and it doesn’t catch and tear, then your knife is reasonably sharp and ready to work. If you try to cut it with a dull knife, the paper will crumple beneath the knife or the edge will catch on the paper. This trick can also be used to see if there are any hidden dull/damaged sections of your edge.
How Do I Take Care of my Whetstones?
Sharpening stones must be used in order to sharpen a knife to its fullest potential. The process of sharpening on a stone is similar to sanding wood. The whetstone scratches away material to shape and polish the edge to an acute blade. Stones can be fragile and should never be over-soaked. Over-soaking will decrease the stone’s quality and make sharpening more difficult. After sharpening, wipe your whetstone clean and allow it to air dry. It is preferable to store stones wrapped in a dry towel. Returning a wet stone to its cardboard box can lead to mold growth, which can weaken the stone resulting in cracking or separation. In order to ensure your whetstones remain in peak condition, please follow the following steps when preparing to sharpen your knives:
Step 1: Prior to sharpening, make sure your stones are always flat. After frequent use of synthetic and ceramic sharpening stones, stones will begin to wear down. A stone fixeris essential for flattening the surface of a sharpening stone. Prolonged use of a concave stone will warp and change the shape of a knife blade.
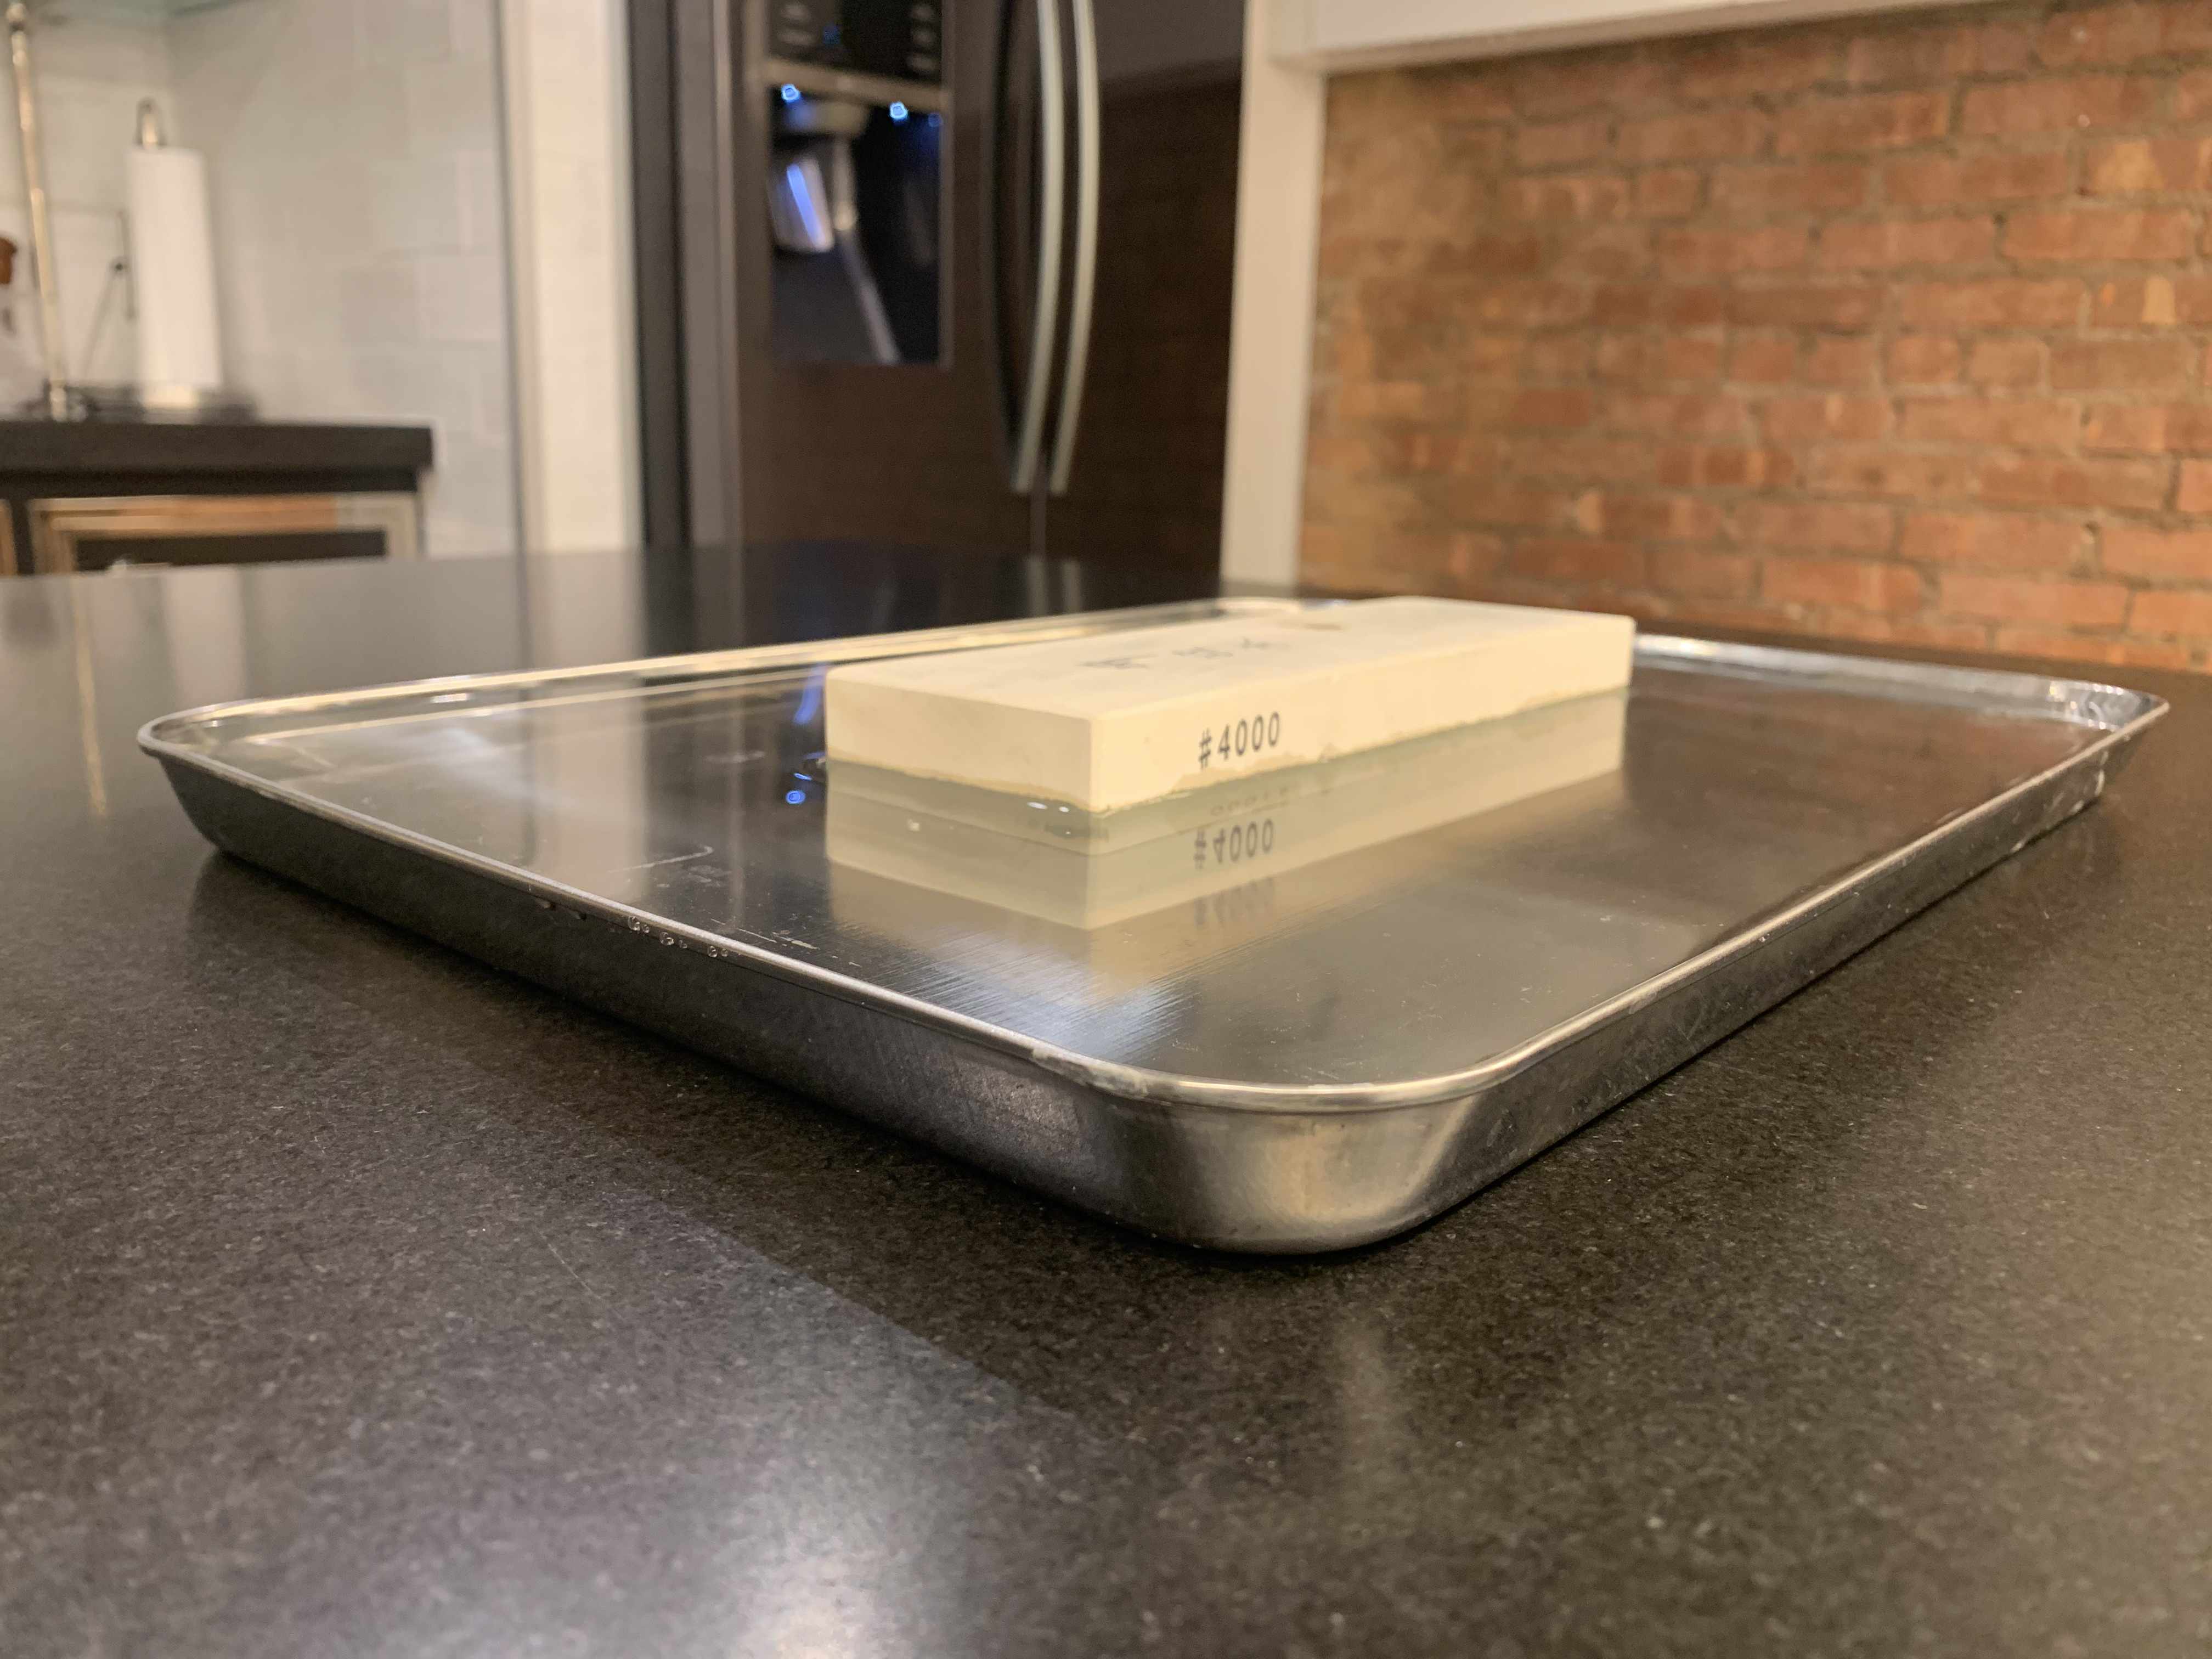
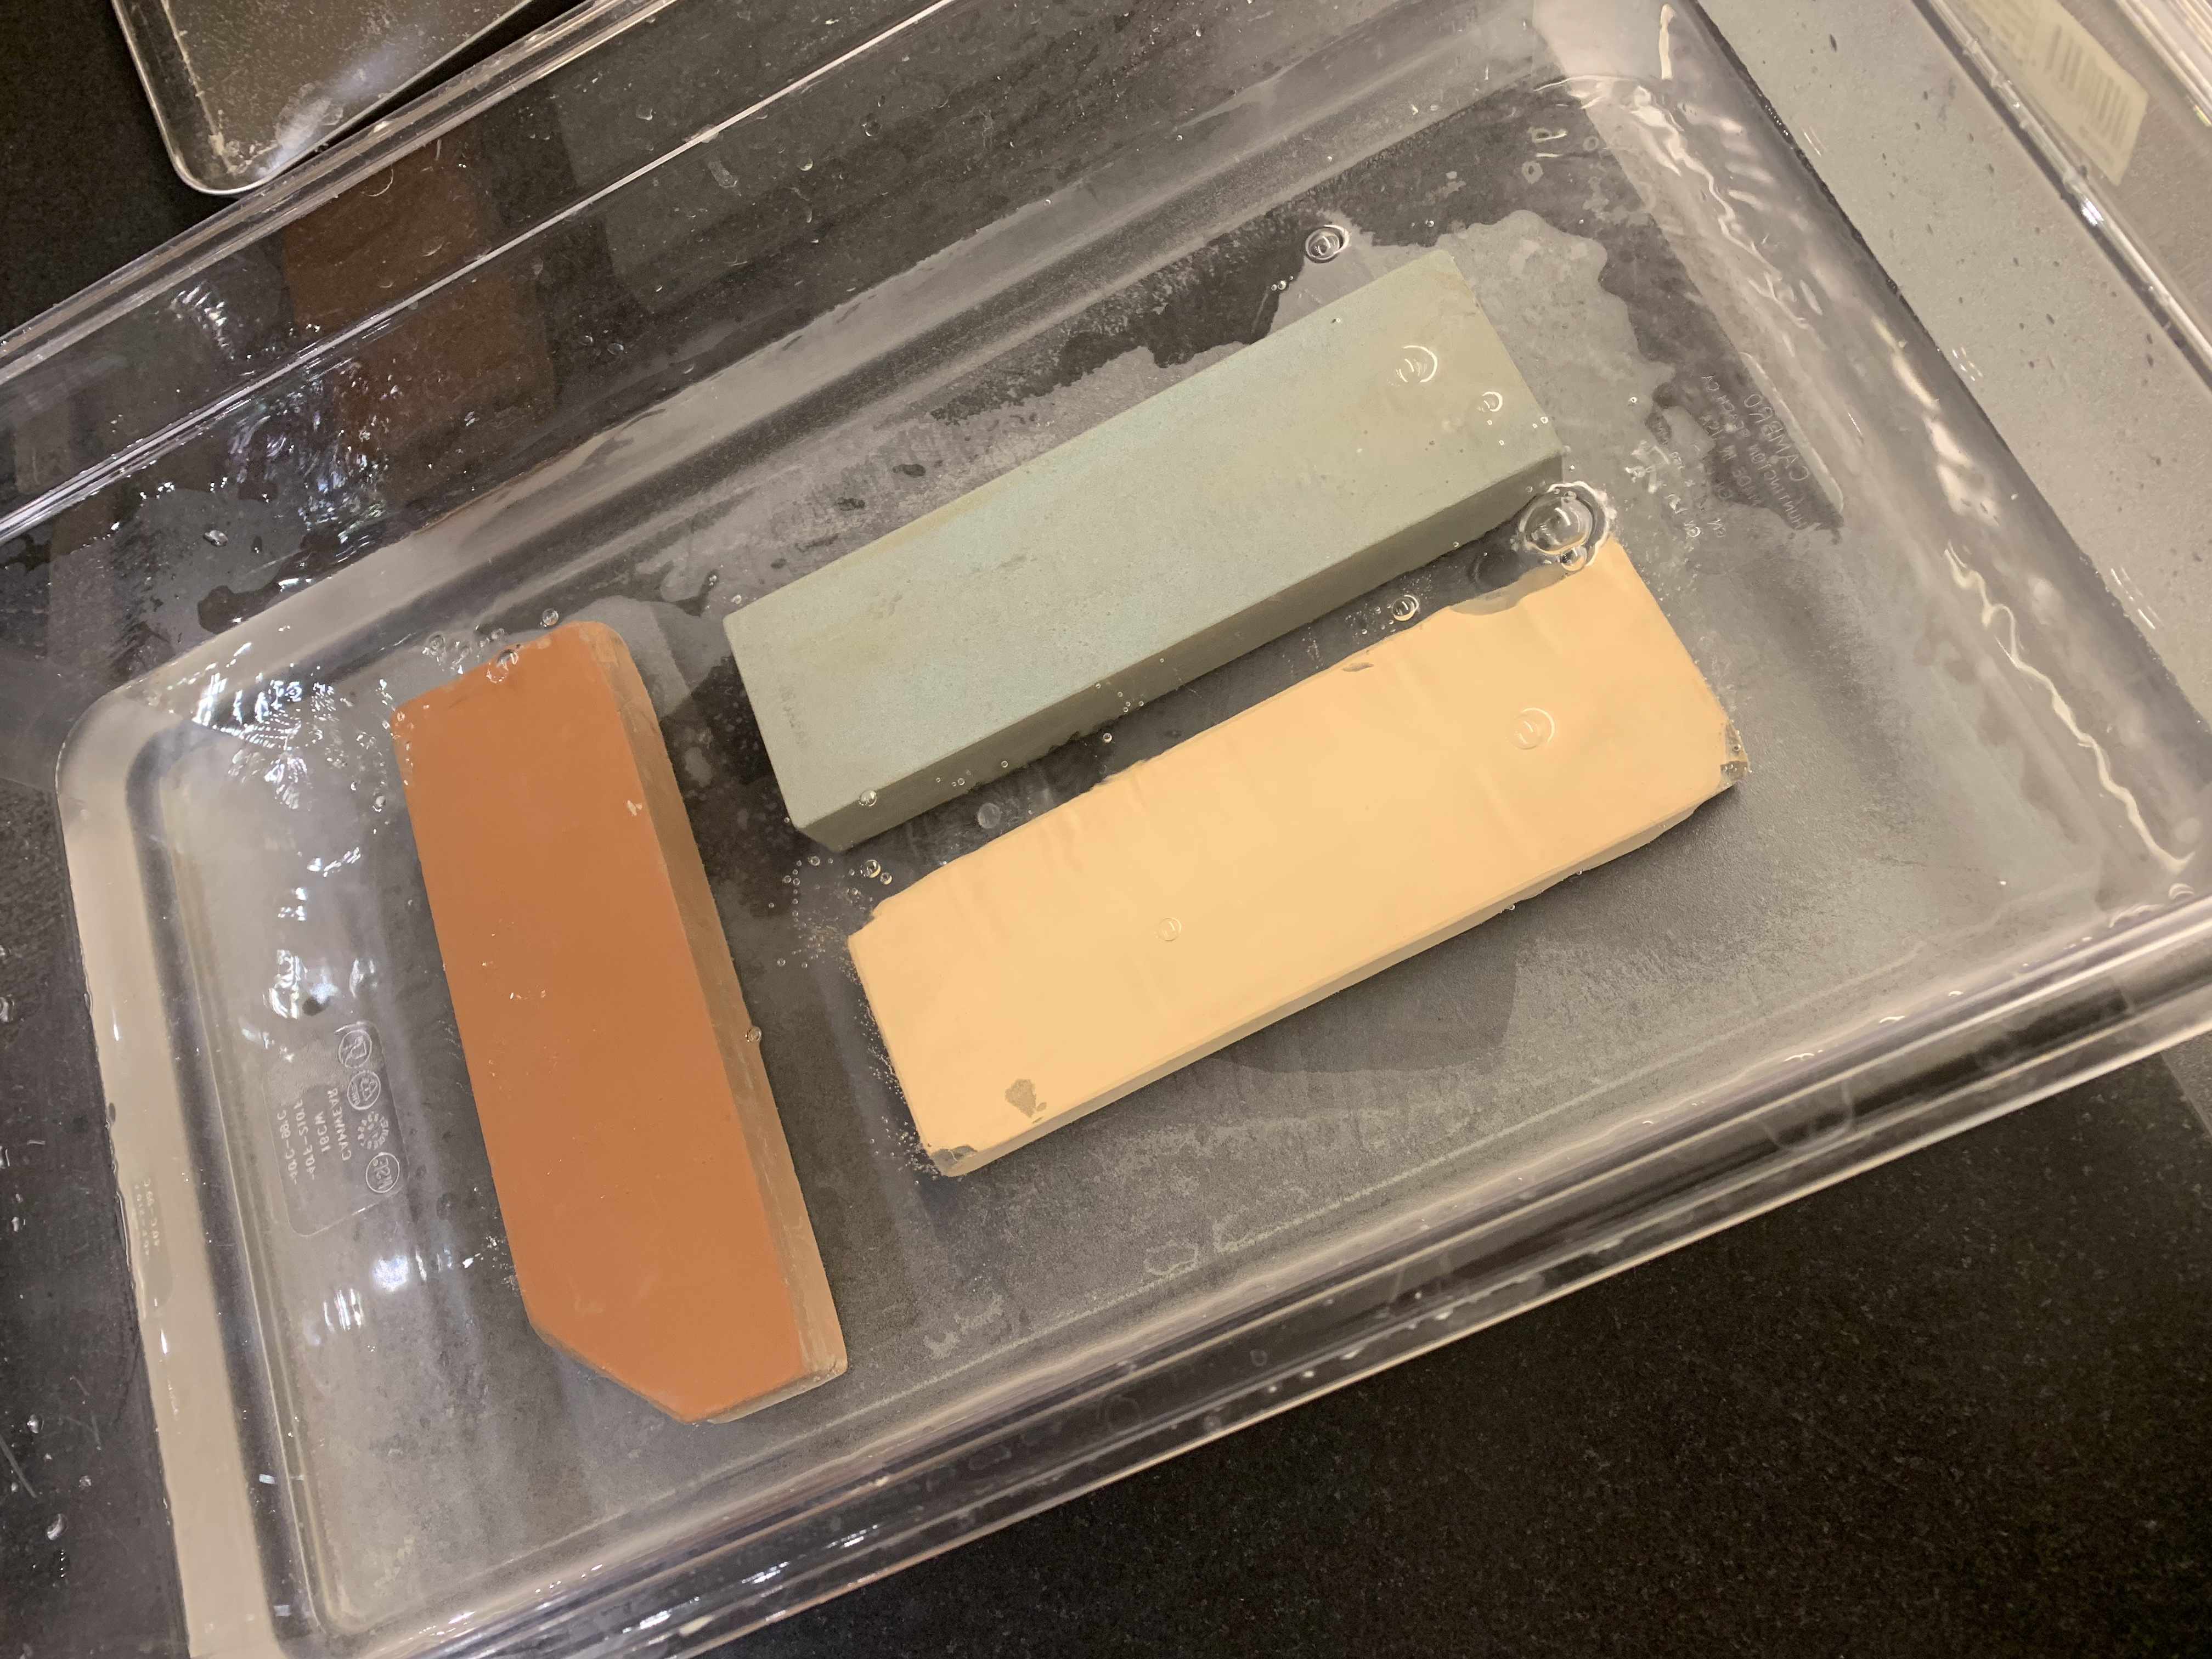
Step 2: Ensure the proper stones are being soaked. Rough and medium grit whetstones should be soaked in water for 10-15 minutes prior to usage. When using fine stones, simply splash water on the stone as you sharpen. If you soak fine stones in water for too long, they can begin to crack. When using double-sided stones, make sure only the medium grit side of the stone is soaked in water.
What Is The Proper Sharpening Procedure?
Step 1: Soak or splash stone with water. Rough and medium stones should be soaked in water for 10-15 minutes. Fine stones should only be splashed with water as you sharpen.
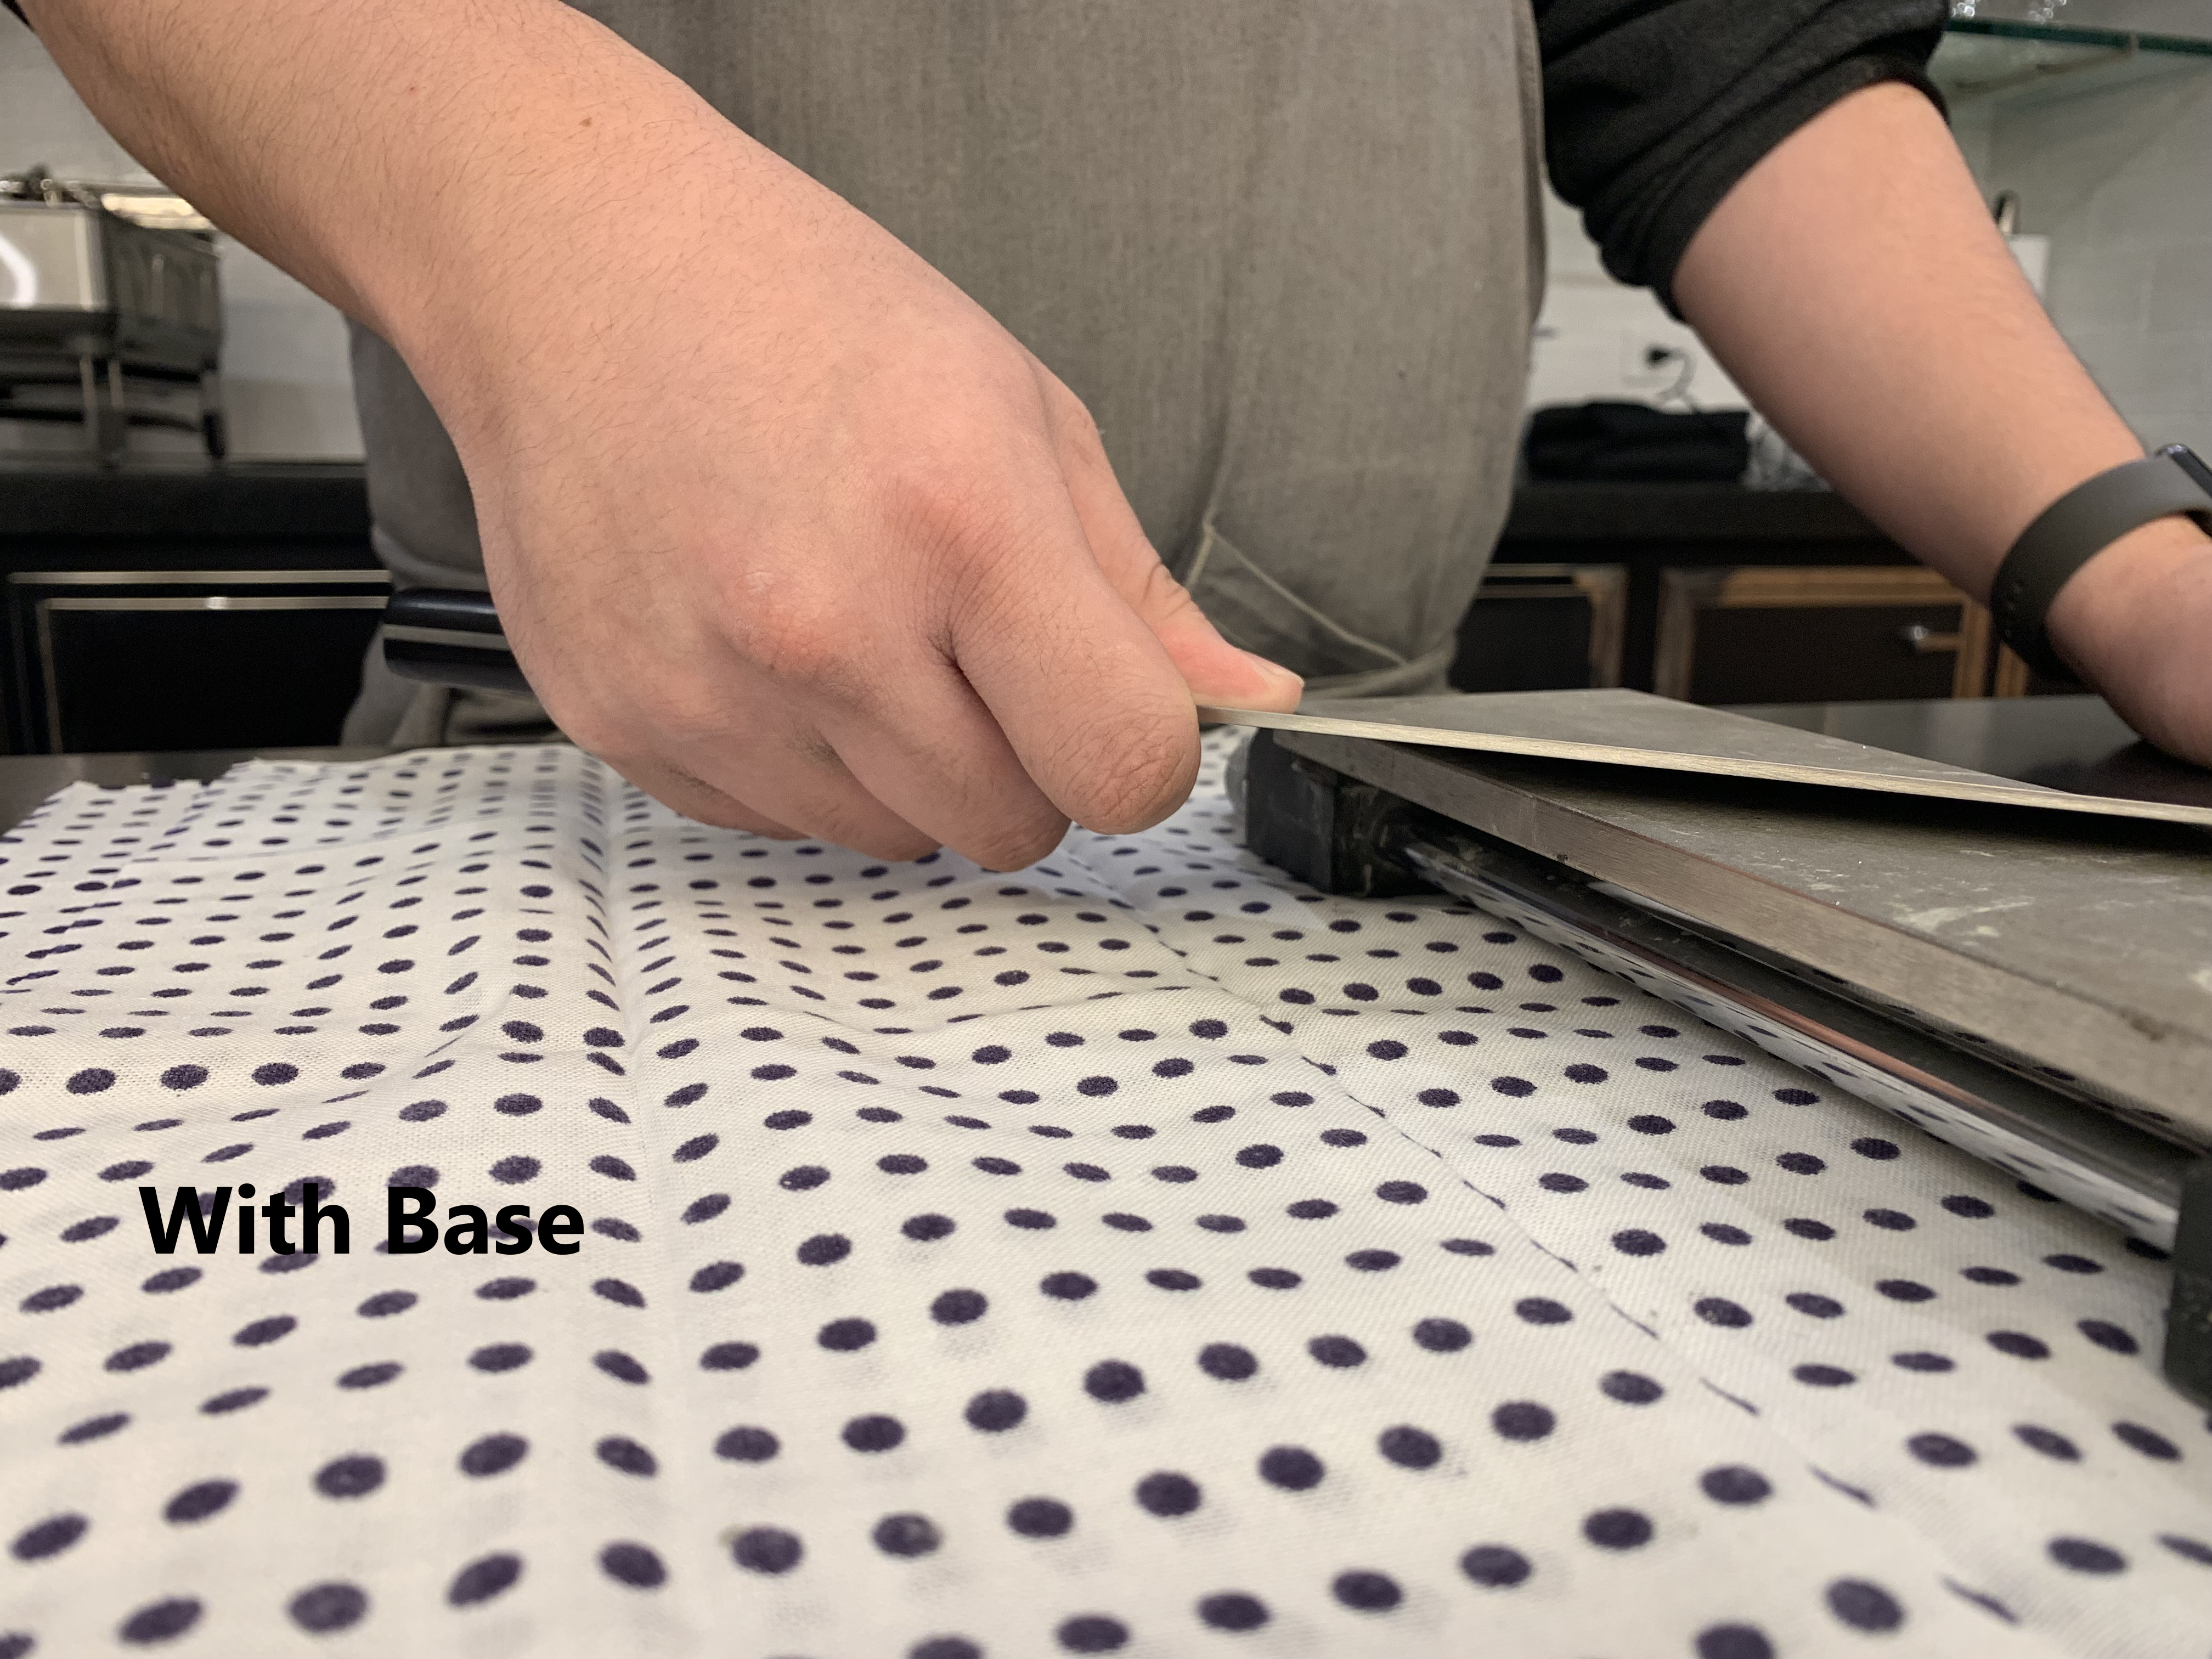
Step 2: Put the stone on a wet cloth or base to stabilize while sharpening. A stone base is always beneficial as it provides clearance for your knuckles when you sharpen. It also raises the stone slightly off your work surface, so you have an easier angle to work with.
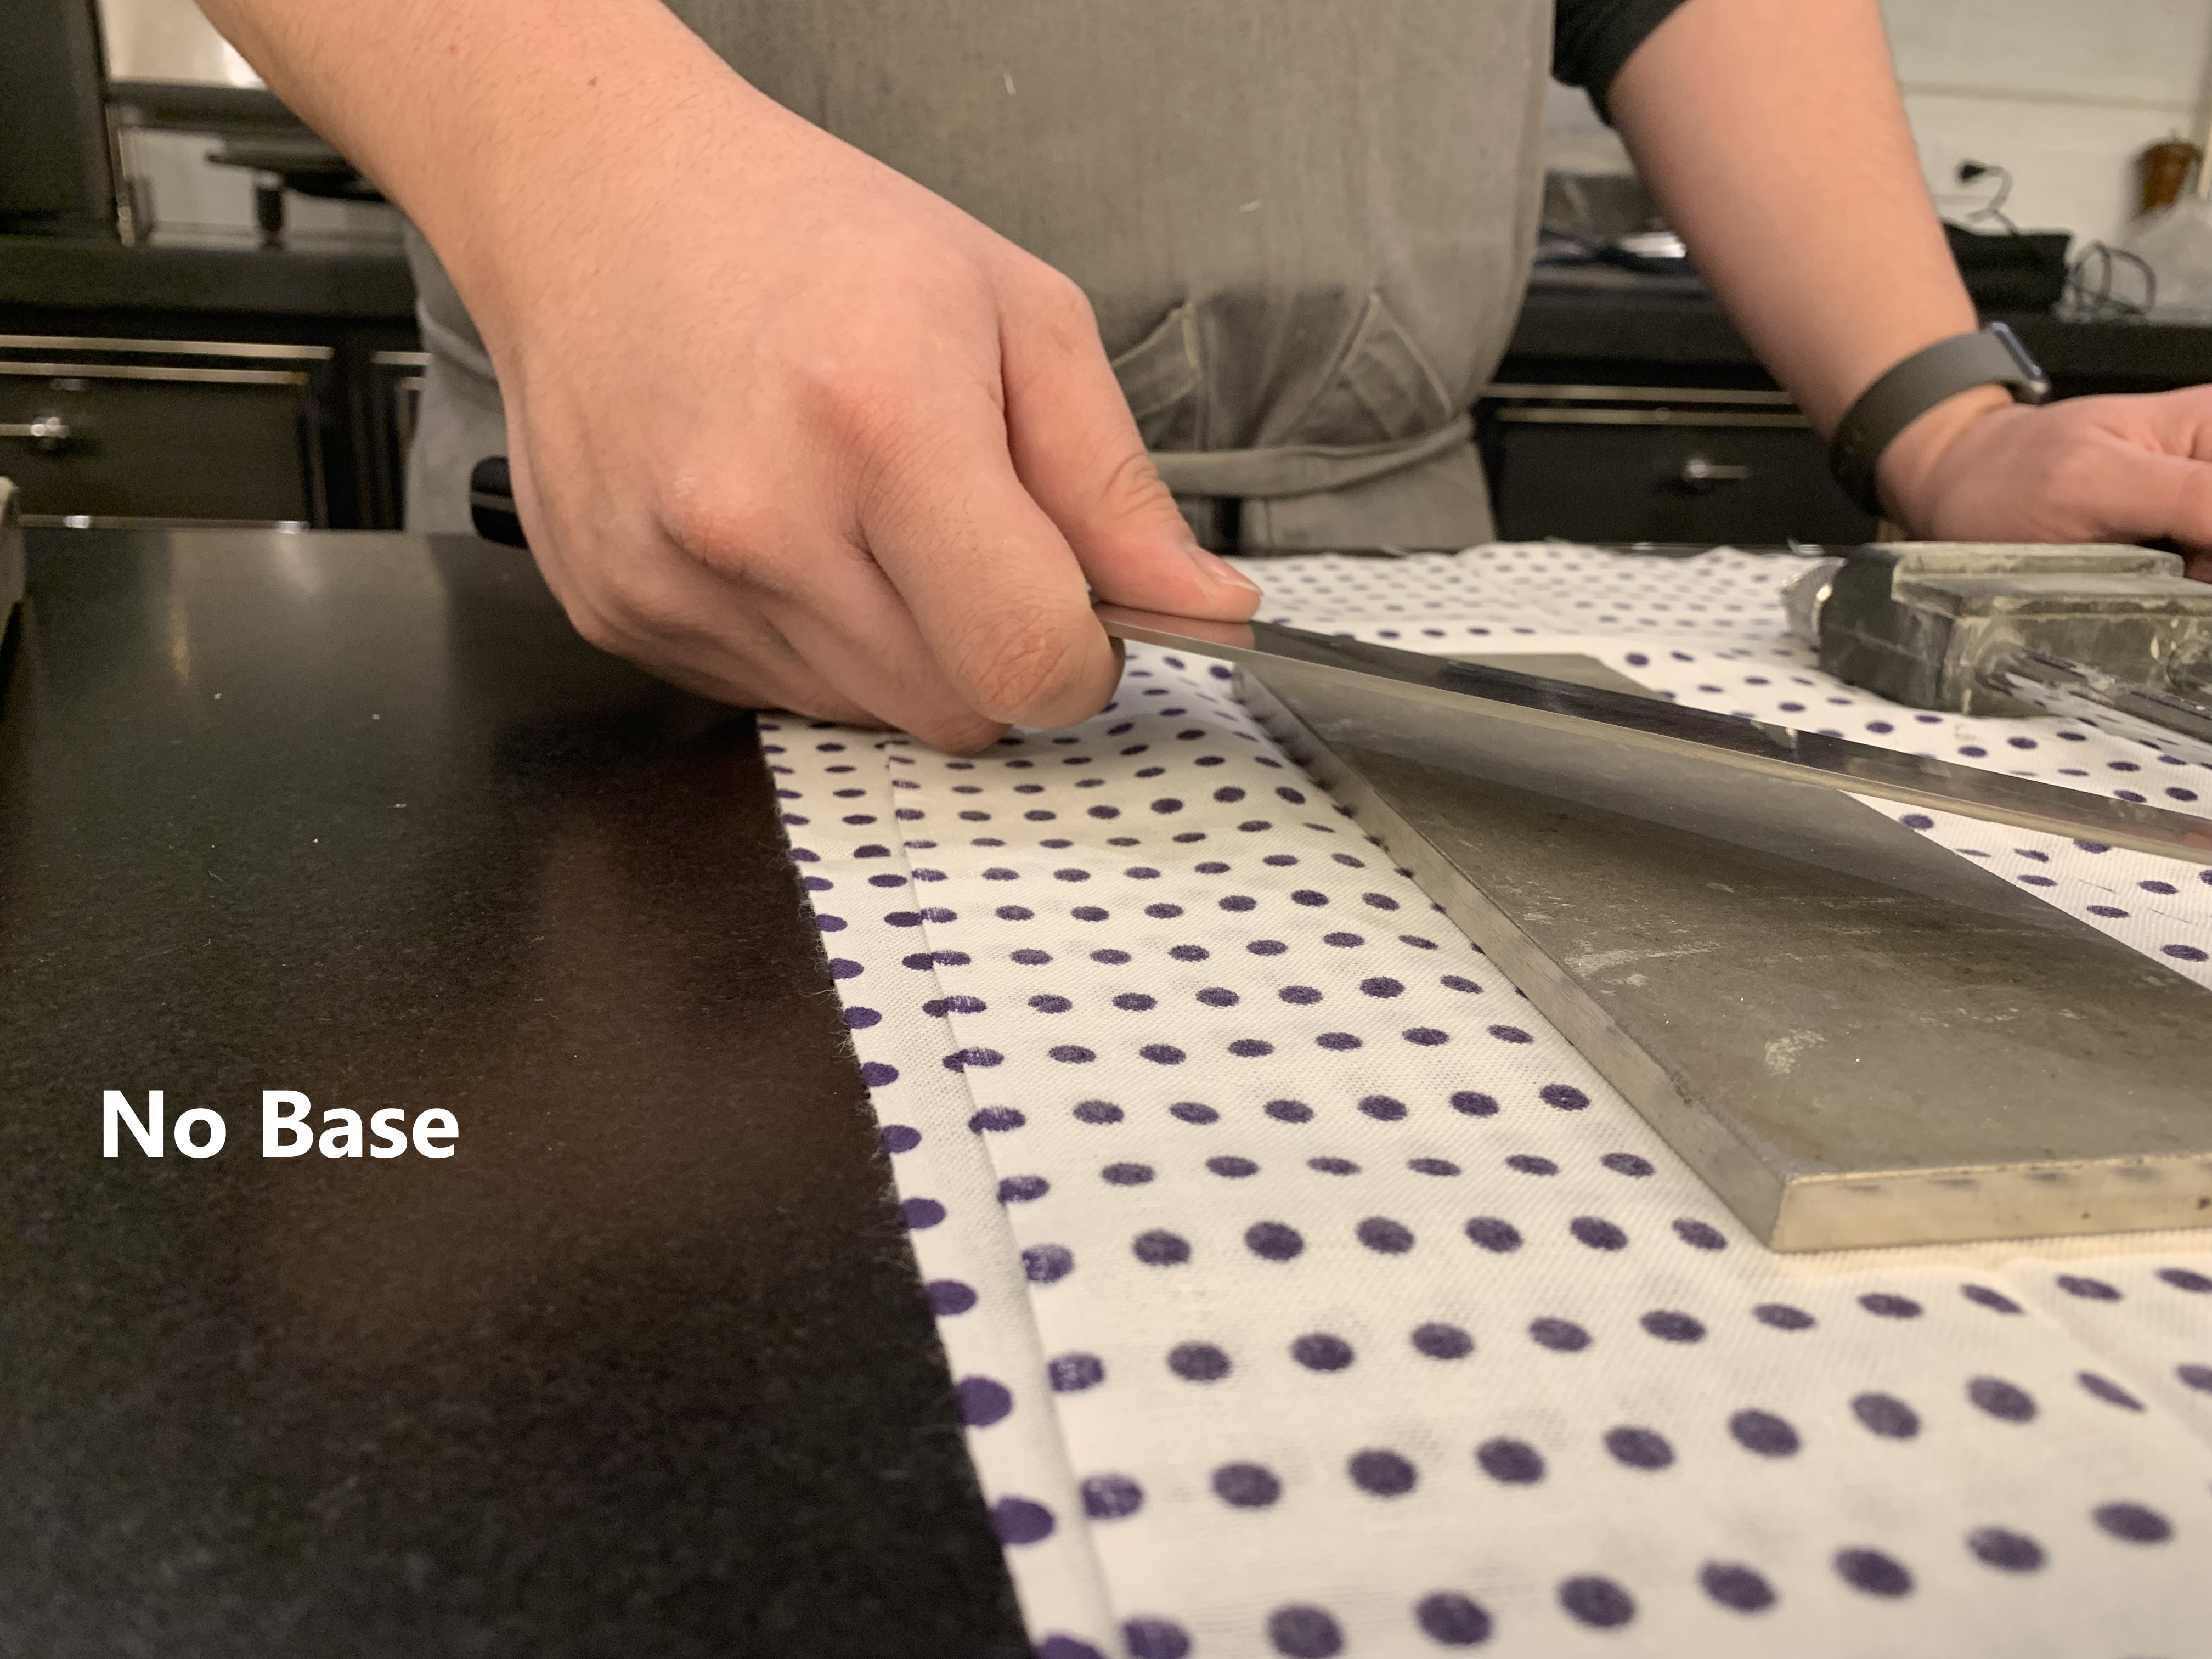
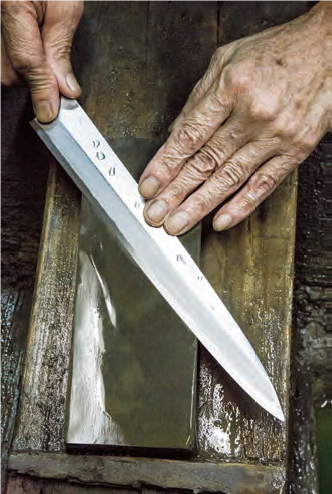
Step 3: Hold the knife with your index finger resting on the spine, thumb on the flat of the blade, and three remaining fingers grasping the handle.
Start with the knife tip. With your other hand, use two or three fingers to press the edge of the blade to the stone.
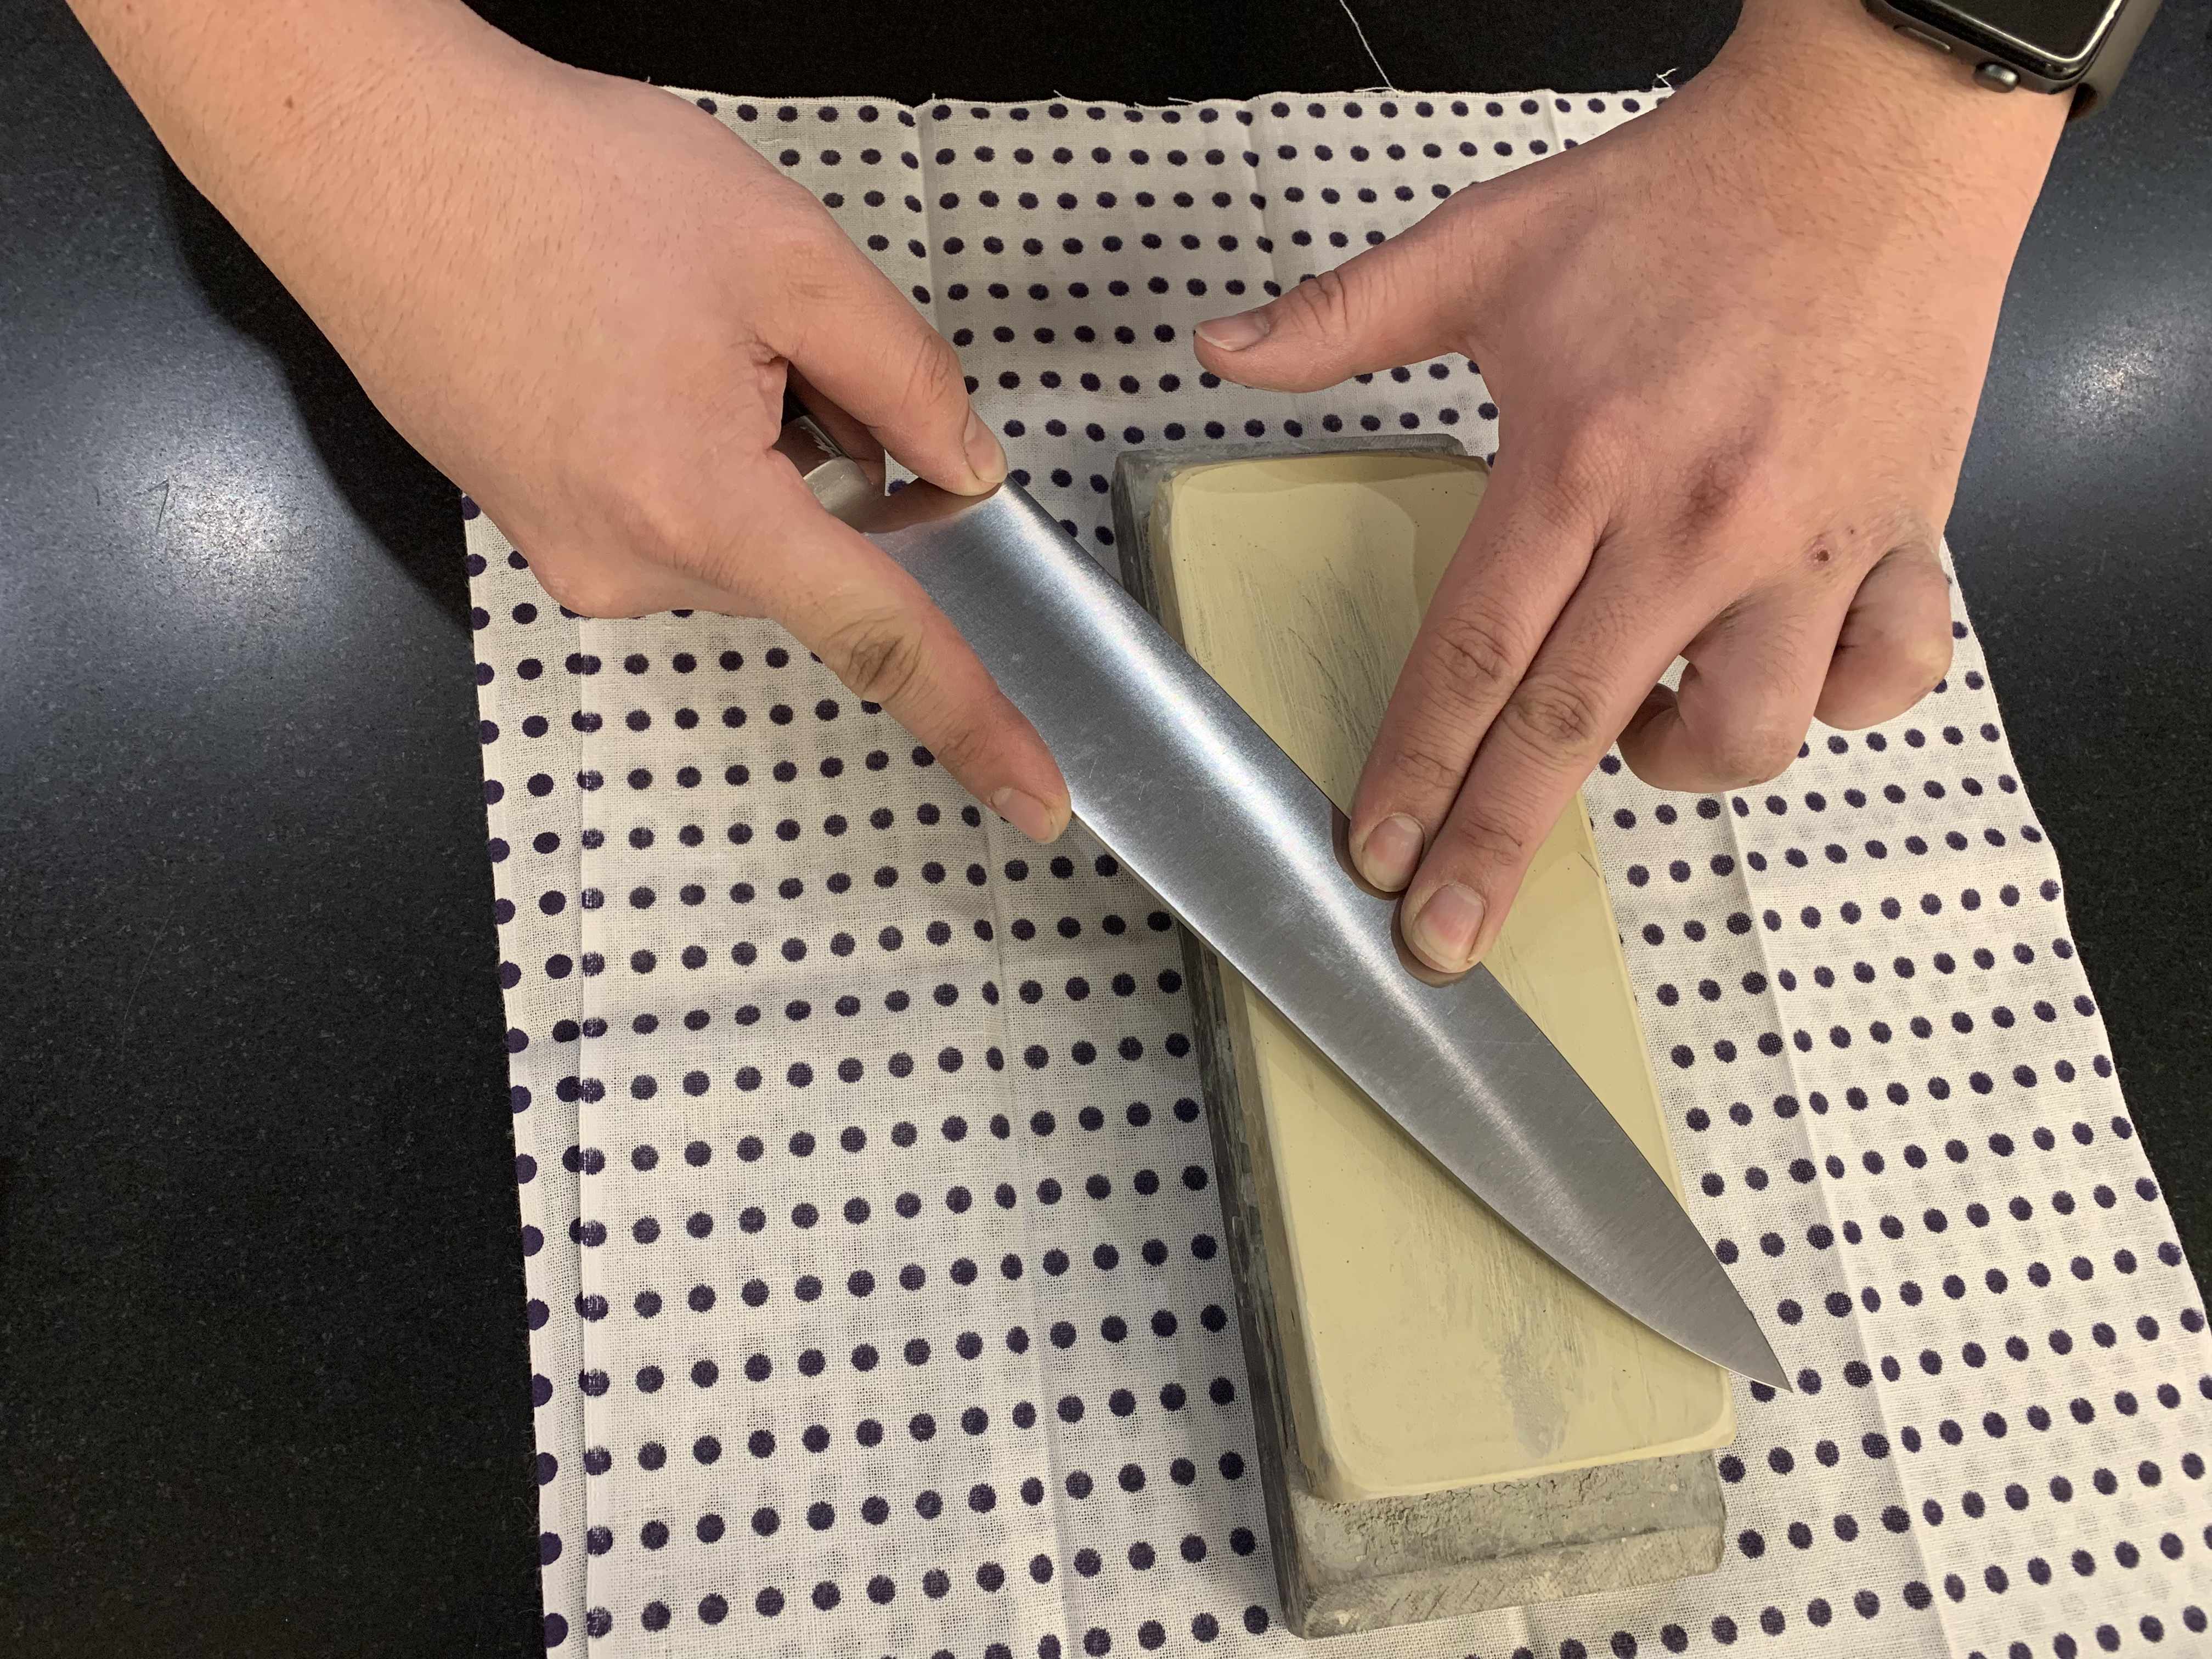
Step 4: Keep a firm grip on the knife, with shoulders square to the stone and upper body relaxed. Press the edge of the blade to stone with the edge facing away from you and push along the stone, exerting pressure as you move forward and releasing pressure as you return the blade to starting position.
Step 5: Repeat this procedure, pressing the edge closely to the stone and sharpening a bit of the edge at a time until you feel a slight, even burr, or ridge, along the entire edge.
Once you have a burr, reverse the blade. Start with the tip. Exert more pressure on the downward stroke and remove burr, or establish a double-sided edge if desired.
Japanese-Style Knives (Yanagi, Takobiki, Usuba, Kamagata Usuba, Deba Knives)
Sharpen the entire cutting edge until there is a slight and even burr on the reverse side.
Place the blade perpendicular to and flat against the stone. Remove the burr with your middle and index finger gently pressing the edge to the stone and your thumb gently pressing the spine. Pressing both sides of the blade preserves the slightly concave shape of the reverse side of the blade and helps make future sharpening possible. Think of the motion as if you are "pushing" water off the stone.
Flip the blade over again and sharpen the shinogi line by moving your fingers away from the edge and pressing just below the middle of the blade. For optimum performance, it is very important to preserve the original shinogi line.
Western-Style Knives
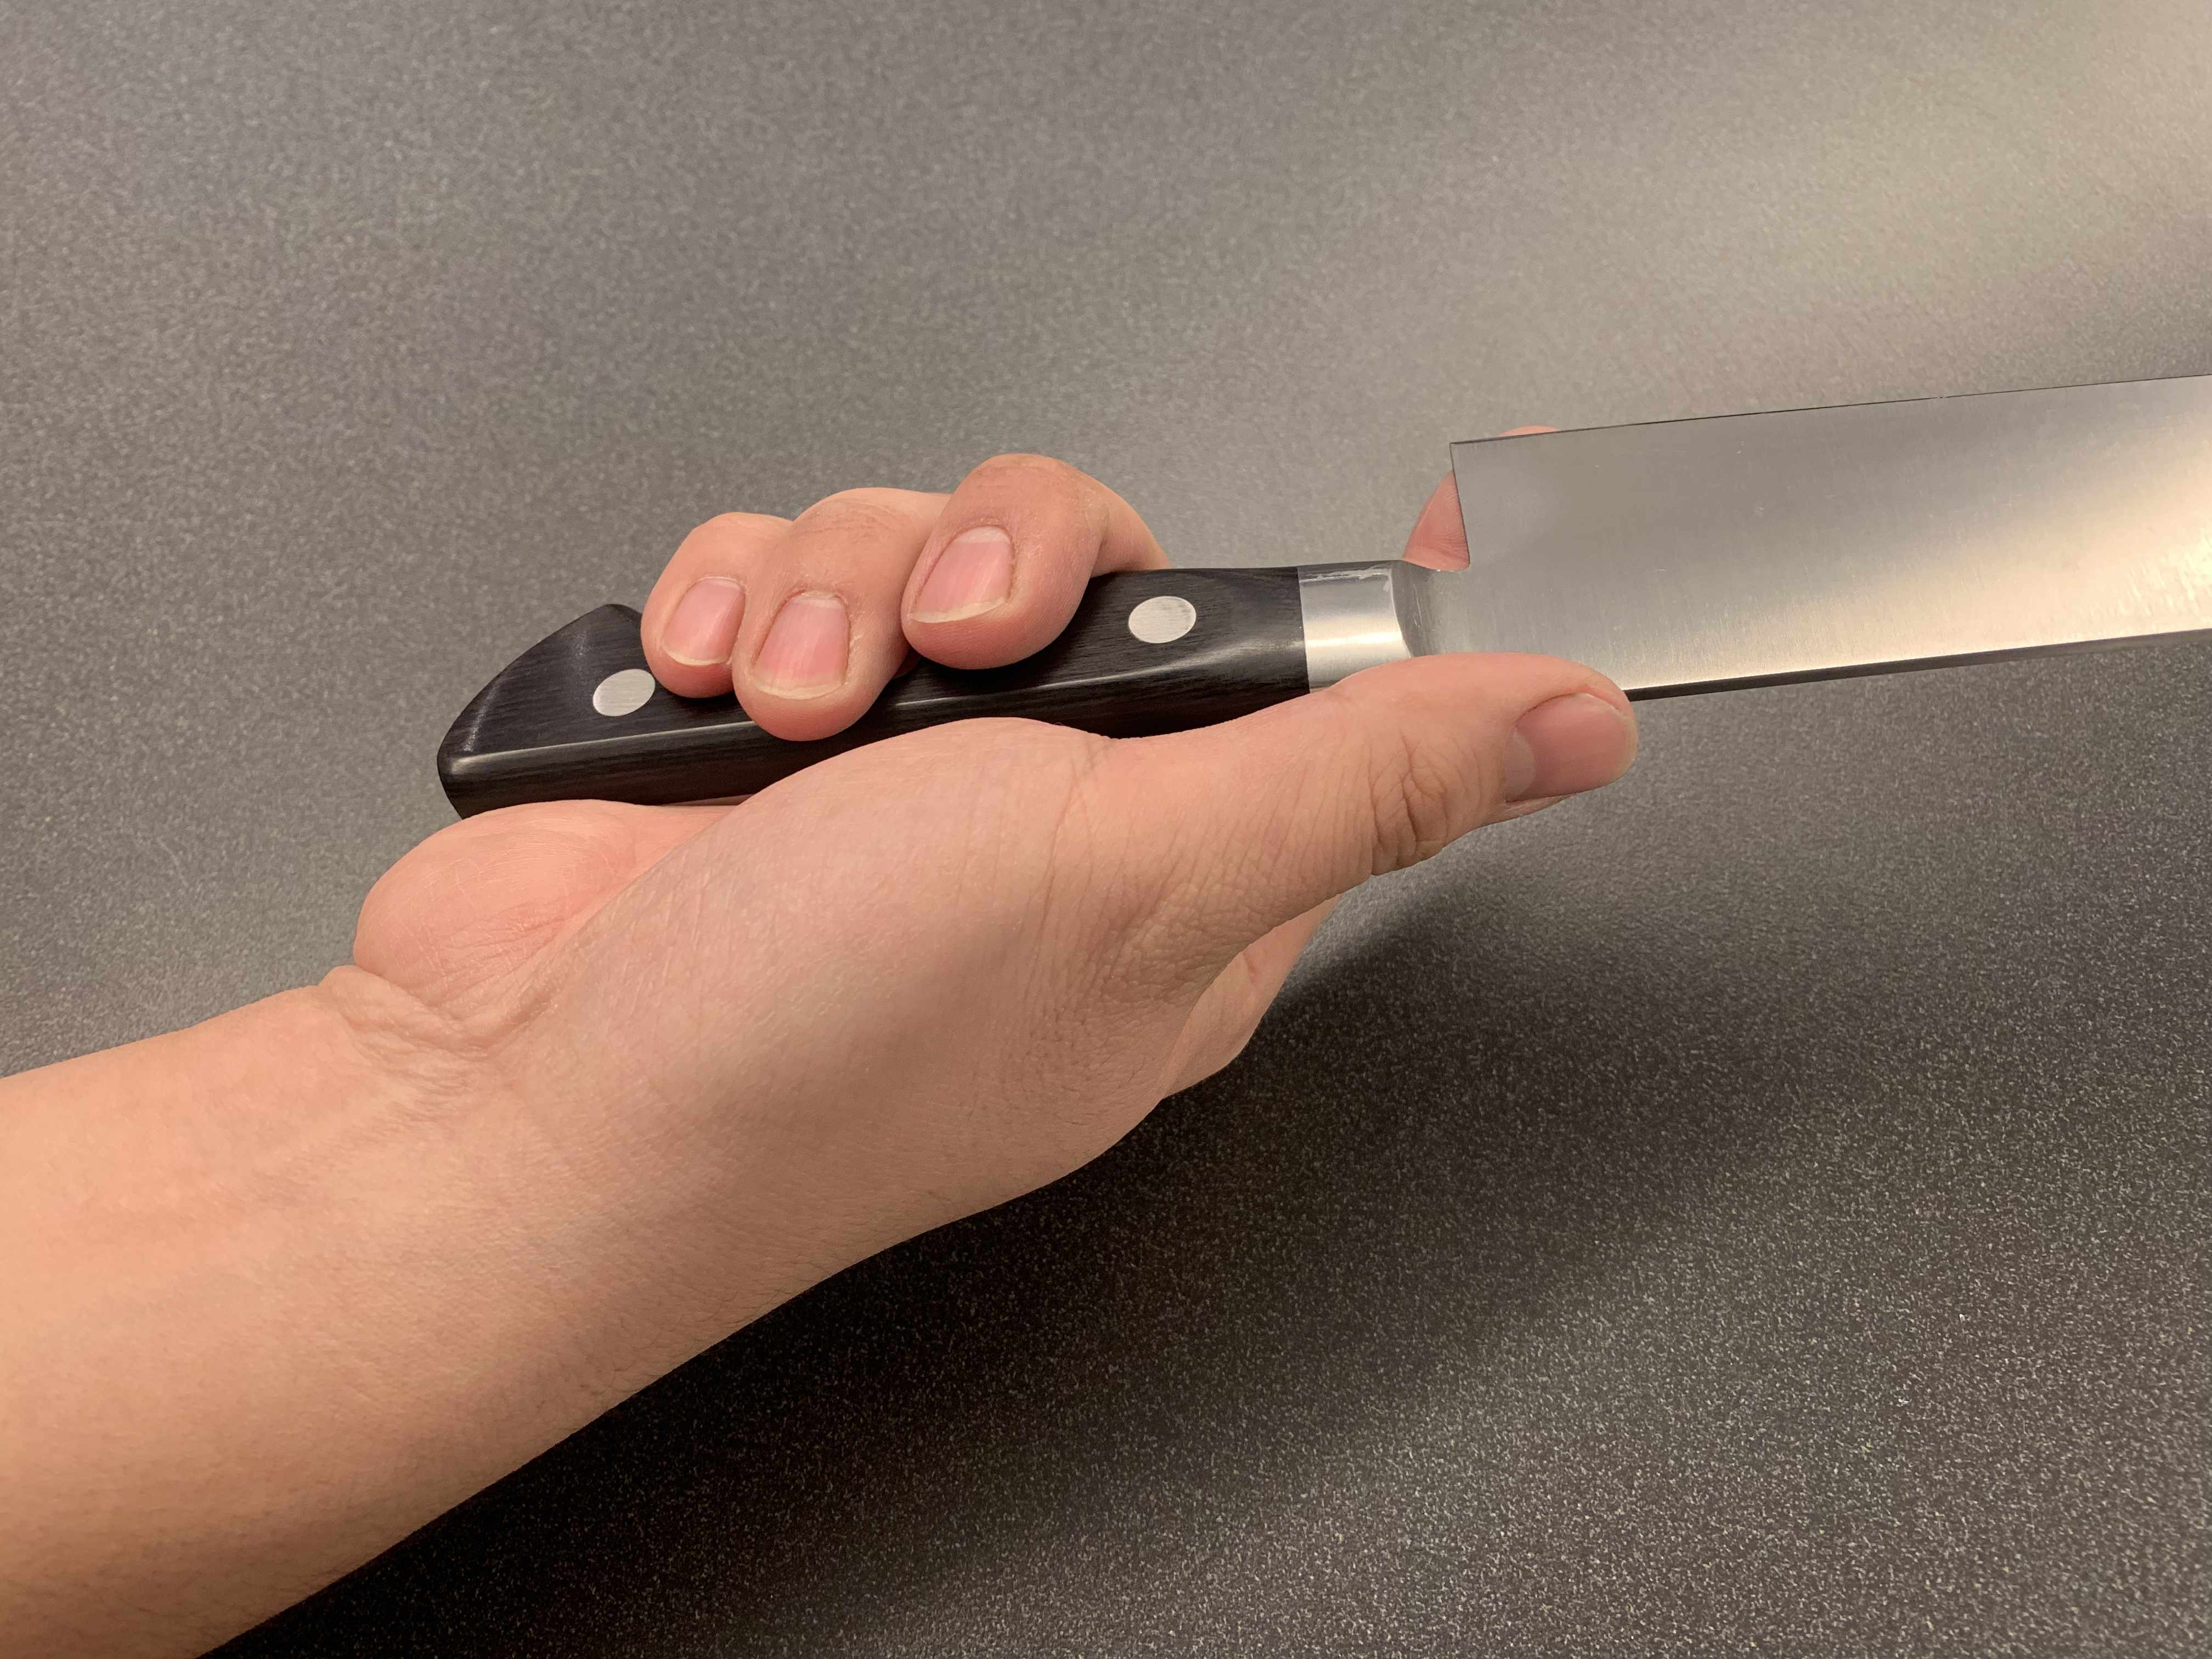
Note the angle of knife to stone while sharpening. You must also understand the bevel of your knife prior to sharpening.
Angle the knife to establish the cutting edge. A 10º-20º angle is suggested. A smaller angle will make a sharper, but weaker cutting edge. You can use two pennies to gauge an approximately 12º angle. Use this trick to help measure a consistent angle until you feel confident in sharpening.
